But I do have two chocolate birthday cakes to tell you about.
My cousin turned 18 in late April and he asked me to bake him a cake for his birthday party, a cake based on the one that appears in the video game Portal. The Portal cake that I made was an 8-inch round two-layer chocolate cake filled with vanilla buttercream icing between the layers and covered in chocolate buttercream mixed with a combination of both sweetened and unsweetened toasted coconut for texture.
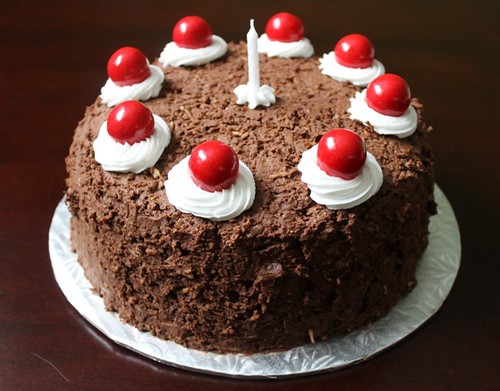

I had to put down a crumb coat of plain chocolate buttercream on the cake first before the outer layer of coconut chocolate buttercream was applied as the latter wouldn’t have stuck to the bare cake on its own. The cake is decorated on top with swirls of white buttercream, large red gumballs, and a single white candle.
For my mother’s upcoming birthday, I made an 8” square chocolate cake filled with chocolate buttercream icing between the layers (I baked one layer but split it to make two thin layers) and covered it in white vanilla buttercream. When I was planning this cake, I couldn’t decide if I wanted to make a birthday gift cake with a fondant bow, or a candy and ice cream-themed birthday party cake. In the end, I combined the two and made a summer birthday gift and party cake.
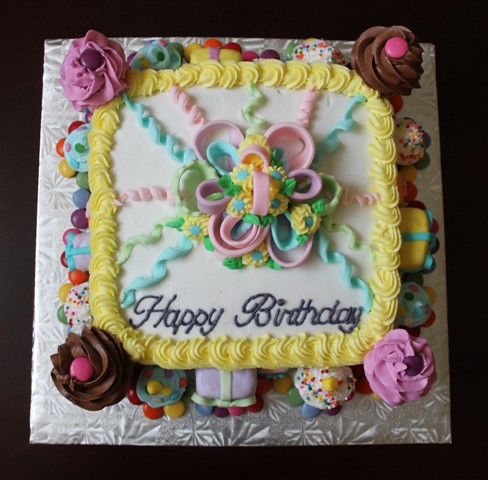
It was my first time making a fondant bow and curlicues, which were both made from my homemade marshmallow fondant. I failed miserably at the bow, which is why I piped in some summery yellow buttercream flowers and green leaves to cover up the gaps and droopiness. Next time I’ll make the bow well ahead of time, maybe a couple days in advance, to let the loops dry thoroughly. I made this bow the day before but the loops would have benefited from a bit of extra drying time to really set up.
It was also my first time using the Wilton Script Message Press Set to create the words “Happy Birthday” on top of the cake, which I then piped over with dark lavender icing. The presses worked like a charm and it’s so much neater than my squiggly freehand piping.
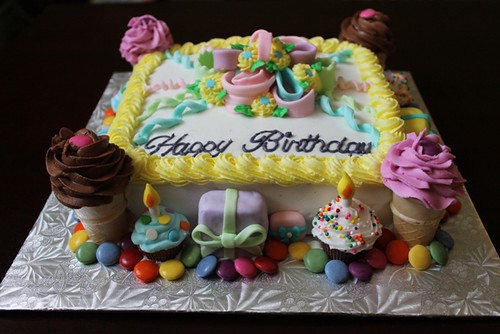
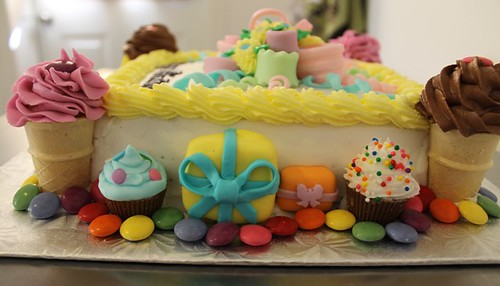
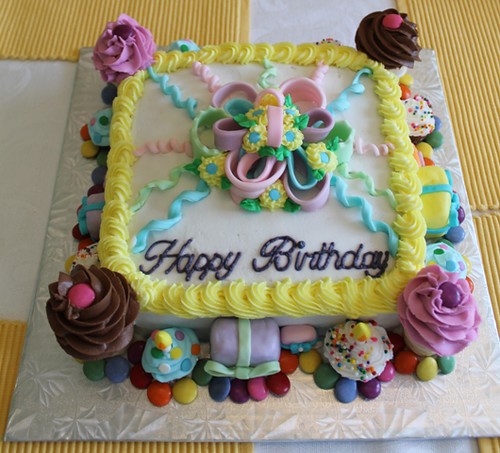
The bottom border of the cake has a birthday party theme created with miniature ice cream cones, cupcakes, gifts, and candy. The little cupcakes are mini peanut butter cups from Bulk Barn that were unwrapped from their foil and topped with buttercream icing and sprinkles. For candles, I tinted some fondant yellow and formed small flame shapes and molded them to the top half of a Popeye candy stick. I made those candles the day before to let the fondant dry, and then I used an orange Wilton Food Writer marker to colour in the orange part of the flame. I only used the candy-and-fondant candles on the front cupcakes, and not on the cupcakes on the sides and back.
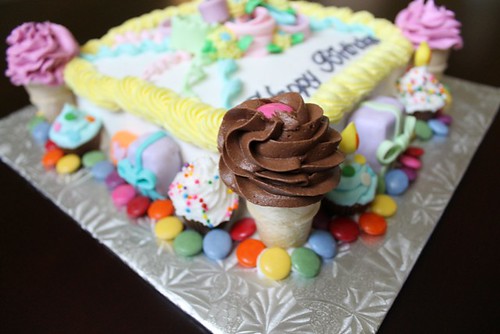
I used Compliments mini ice cream cones filled with a piece of store-bought Rice Krispies treat and topped that with swirls of chocolate and strawberry buttercream with a Smartie on the top. I didn’t want to fill the cones inside with buttercream because I wasn’t sure if the moisture from the icing would soften or soak through the thin, crisp cones, so I opted for the rice treat filling instead. The cones are delicate, though, so I had to form the pieces of Rice Krispies treats with my fingers first before gently pressing them down into the hollow of the cones so as not to break them.
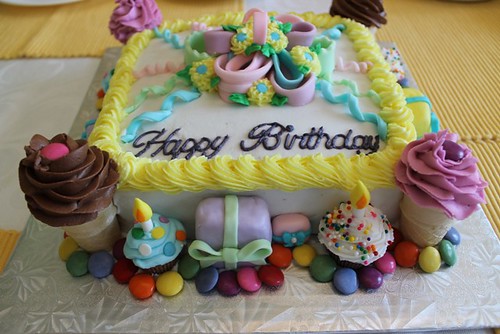

The larger gifts are made from pieces of Rice Krispies treat covered in fondant with fondant bows, and the smaller gifts are just fondant molded into rectangular shapes. Finally, I put a row of rainbow Smarties around the perimeter of the cake just because I thought it would be pretty. And it sure is.
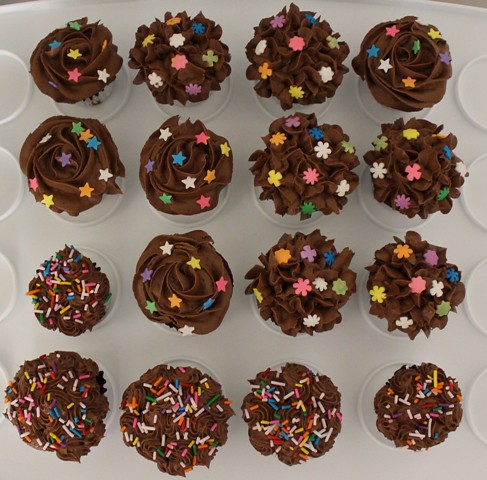
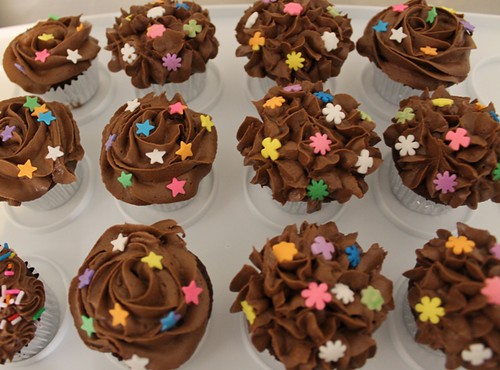
(P.S. I also made and decorated some mini chocolate cupcakes to bring in to work tomorrow.)
No comments:
Post a Comment